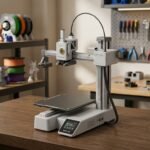

Even the most advanced desktop 3D printers on the market — such as the Bambu Lab A1 Mini or Creality Ender-3 V3 KE — experience natural mechanical wear over time. Continuous high-speed motion, intense thermal fluctuations, and accumulated plastic debris directly impact dimensional accuracy and surface finish.
Skipping preventive maintenance usually leads to frustrating issues: layer shifts, mechanical grinding noises in the axes, loose belts, or severe hotend clogs right in the middle of an overnight print job.
In this practical guide, you will learn the essential preventive maintenance routine needed to keep your 3D printer running at peak performance and extend the lifespan of critical components.
📌 Key Takeaways
- Surface Cleaning: The proper way to remove built-up plastic residue and skin oils from magnetic PEI build plates.
- Correct Lubrication: Knowing which oils and greases to apply on linear rails, lead screws, and bearings without causing damage.
- Belt Tensioning: How to identify loose timing belts that cause ghosting and ringing defects on printed parts.
- Hotend Inspection: Preventing leaks through proper hot-tightening procedures.
1. Build Plate Cleaning and PEI Maintenance
The first line of defense against first-layer adhesion failure is keeping your build plate spotless. Skin oils from handling models and micro-plastic residue severely compromise adhesion.
- Frequency: Every 5 to 10 print jobs.
- What to use: Wash the removable magnetic spring steel sheet with warm water and mild dish soap. Avoid relying solely on isopropyl alcohol ($70%$ or $90%$) for deep cleans, as alcohol merely dissolves and spreads oils across the surface rather than removing them entirely.
- Precautions: Never use sharp metal scrapers aggressively on textured PEI sheets to avoid gouging the coating.
2. Lubrication of Axes and Guide Rails
The appropriate lubricant depends entirely on whether your machine uses smooth rods with linear bearings, V-slot aluminum extrusions, or professional linear rails.
A. Z-Axis Lead Screws (Spindle Rods)
- Recommended Product: Lithium-based grease or light silicone grease.
- Procedure: Wipe the lead screw down with a clean, dry cloth to remove dust and old debris. Apply a thin bead of grease along the thread and jog the Z-axis up and down via the printer interface to distribute it evenly.
B. Linear Rails and Smooth Rods
- Recommended Product: Low-viscosity synthetic machine oil (such as sewing machine oil or dedicated linear rail lubricant).
- Procedure: Apply a few drops to a clean microfiber cloth and gently wipe along the metal rods or slider blocks. Never over-lubricate, as excess oil acts as a magnet for airborne dust and plastic particles, forming an abrasive paste.
3. Inspecting and Tensioning Timing Belts
Loose timing belts introduce mechanical backlash, resulting in rounded corners, double-lined perimeter walls, and unwanted ghosting (ringing artifacts on flat surfaces).
- How to test: Lightly pinch the two parallel strands of a belt together like guitar strings. They should offer firm resistance and emit a low-pitch resonant note when released.
- How to adjust: Most modern printers feature integrated tensioner screws at the ends of the X and Y gantry frames. Loosen the retaining screws slightly, adjust the tensioner mechanism, and retighten securely.
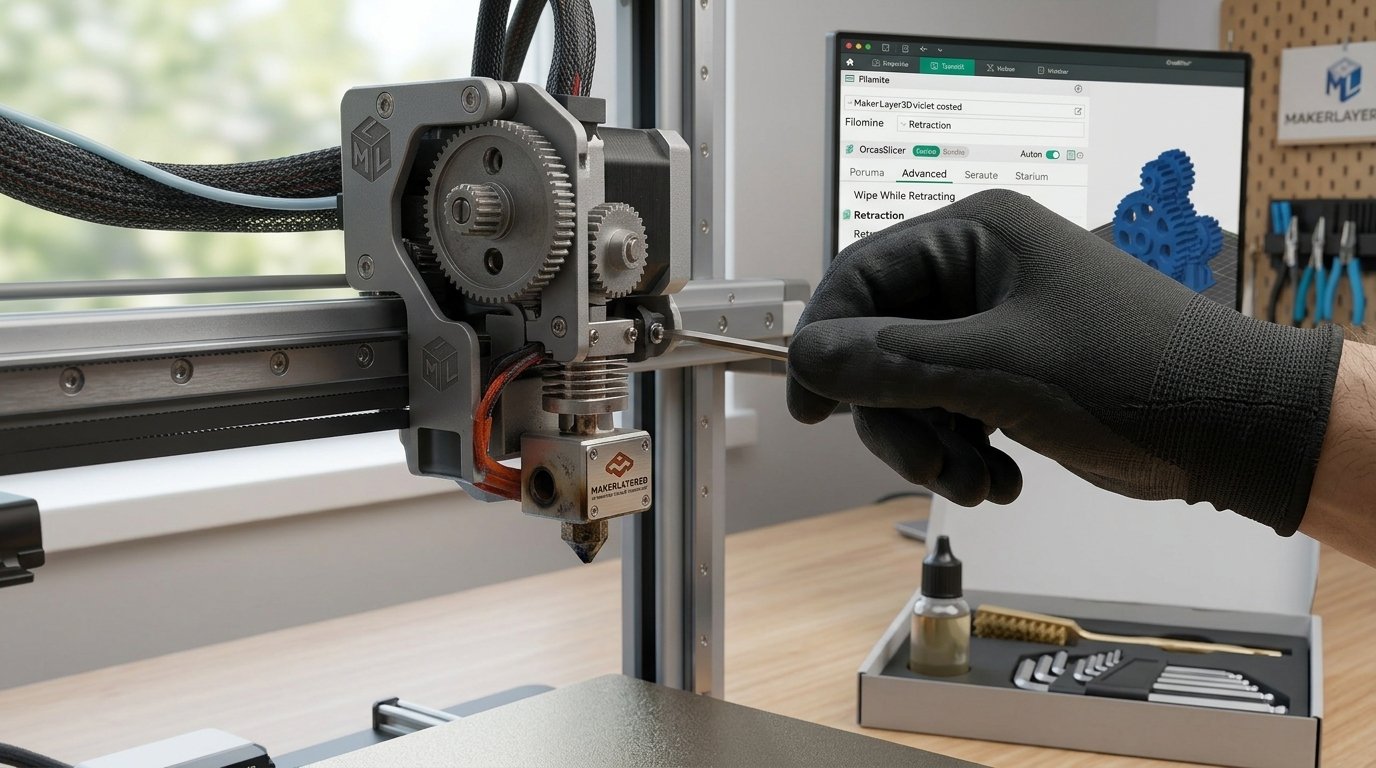
4. Hotend Inspection & Hot-Tightening
Plastic leakage occurring between the nozzle and the heatbreak is the #1 cause of catastrophic hotend blobs encased in burned plastic.
- Heat Up the Hotend: Set your nozzle temperature to roughly 240 °C (hotter than standard printing temps to melt trapped residual plastic).
- Power Down: Unplug the printer from the wall for electrical safety before working near heater cartridges.
- Perform Hot-Tightening: Use an appropriately sized wrench to hold the heater block securely while tightening the nozzle. Golden Rule: The nozzle must bottom out and seal tightly against the bottom of the heatbreak inside the block, leaving a tiny $0.5\text{ mm}$ thermal gap between the nozzle hex head and the aluminum heater block face.
5. Preventive Maintenance Checklist
| Interval | Component | Recommended Action |
|---|---|---|
| Weekly | PEI Build Plate | Wash with warm water and mild dish soap |
| Bi-weekly | Nozzle & Extruder Gear | Clean external plastic buildup with a brass wire brush |
| Monthly | Axes & Guide Rails | Apply a thin film of appropriate oil or grease |
| Quarterly | Belts & Frame Fasteners | Check belt tension and torque frame assembly screws |
Final Verdict
Maintaining a simple preventive maintenance routine takes only 10 minutes out of your month, yet it saves hours of troubleshooting headaches, failed prints, and premature part replacements. A clean, well-calibrated machine is the ultimate secret to consistent, professional results on MakerLayer 3D!